This page shows my version of the Simple Electrical System.
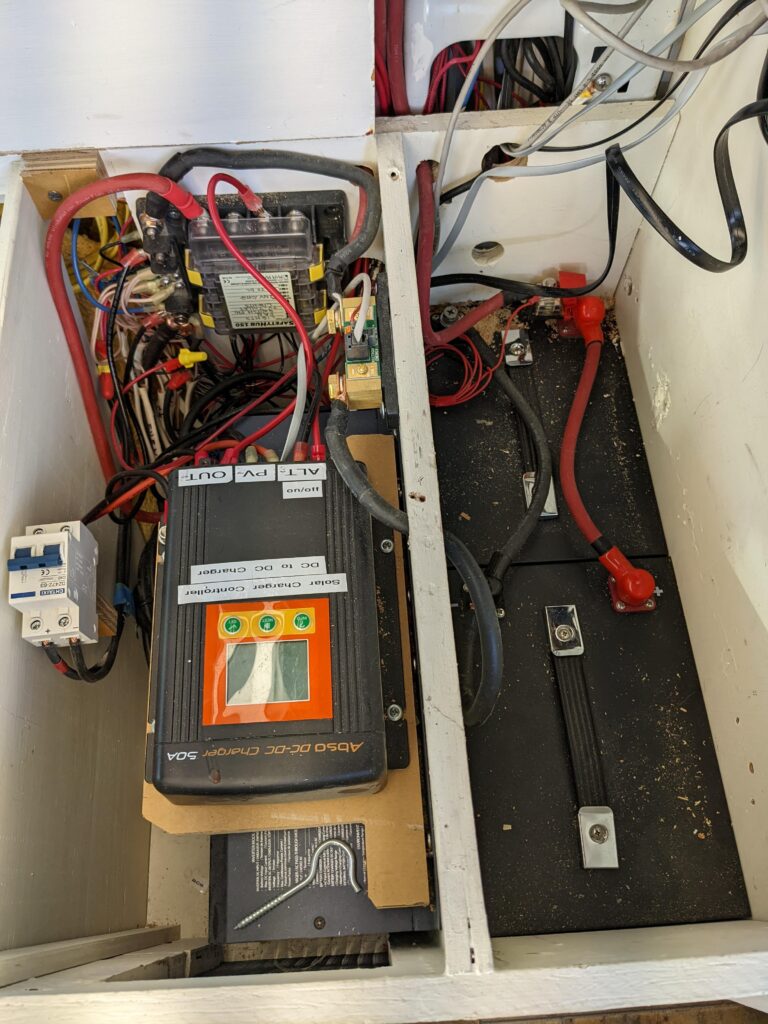
This page shows the Base System plus a Samlex Inverter/Charger, Kisae DC to DC charger, BlueSea Safety Hub 150, and the two SOK 100 amp-hr LiFePo4 batteries all installed in our ProMaster van in the same space our old system was in.
I’m not that proud of this as an example in that we had to use a less than ideal layout to get everything in the space available. But, its one way to put the stuff together in a way that is safe and reasonably easy to live with.
If you build a system yourself, please send some pictures in!!

This is an overview of our camper van electrical system installed in our ProMaster van.
It is in the forward part of the bed pedestal on the drivers side.
There are some things that are less than ideal about the new setup. We wanted to stay within the footprint of the old system, and this was less space than ideal.
These are things that are not so great…
– The new SOK Li batteries are a bit bigger than the old golf cart batteries, so the fit is snug (what happened to the greater energy density of of Li?). I would like to have been able to run warm van air past the batteries on winter trips when keeping the Li batteries warm enough to allow charging can be an issue. May have to add a heater under the battery.
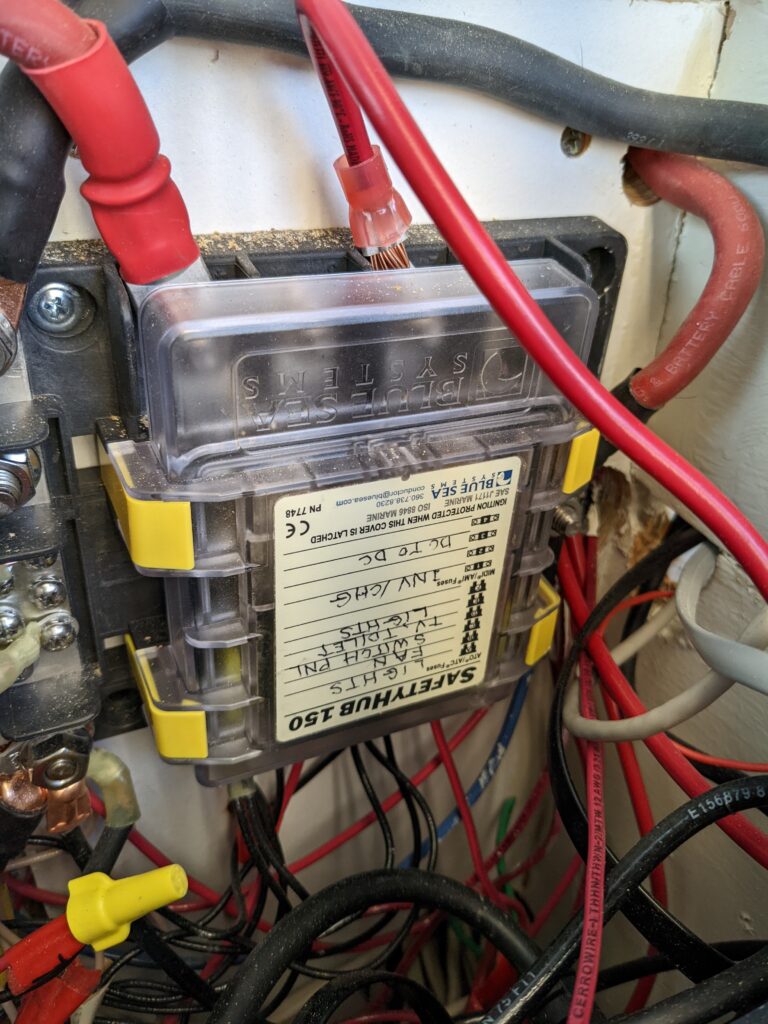
– It would have been nice to have a bit more space around the BlueSea Hub to allow for easier wiring of all the circuits coming into it and access for changing fuses. But, its safe and OK.
– I had to mount the DC to DC charger over the Samlex Inverter/charger. This is not ideal for either ventilation or for access. To provide descent ventilation, the back wall of the electroncis area is open screen and there is a large vent area on wall that is in line with the exhaust vent and fan on the inverter charger. I think this will be enough ventilation, but if temps get to high in the electronics compartment, I will add a temperature controlled fan to move more air through it.

LThe BlueSea Safety Hub 150.
The Hub is the center of the wiring system.

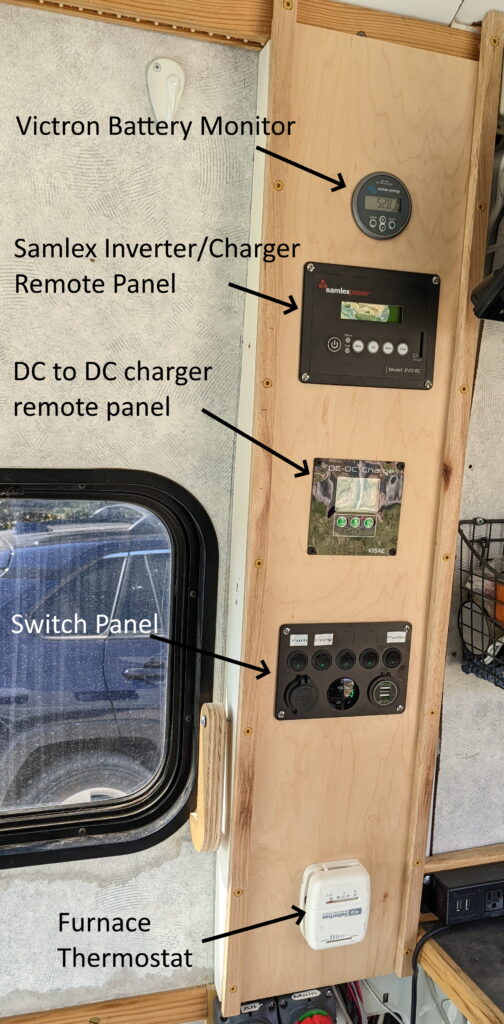
This is the panel that is used to mount the remotes for the Inverter/Charger and for the DC to DC charger, as well as the battery monitor readout, and the main switch panel for van that is used to switch power on for the water pump, furnace, etc.
This is a big improvement over the old system where to see the status of the inverter or charge controller, you had to take the bed mattress off, open a the hatch, and peek inside with a flashlight to see the panel on the inverter etc.
These remote panels care connected to the unit they monitor via a communications cable. Now all of these remote panels are in the same, easy to read loc Gary
